Surfshark VPN Set Up Guide

How to set up your Surfshark VPN
This guide will help you set up your Surfshark VPN step by step.
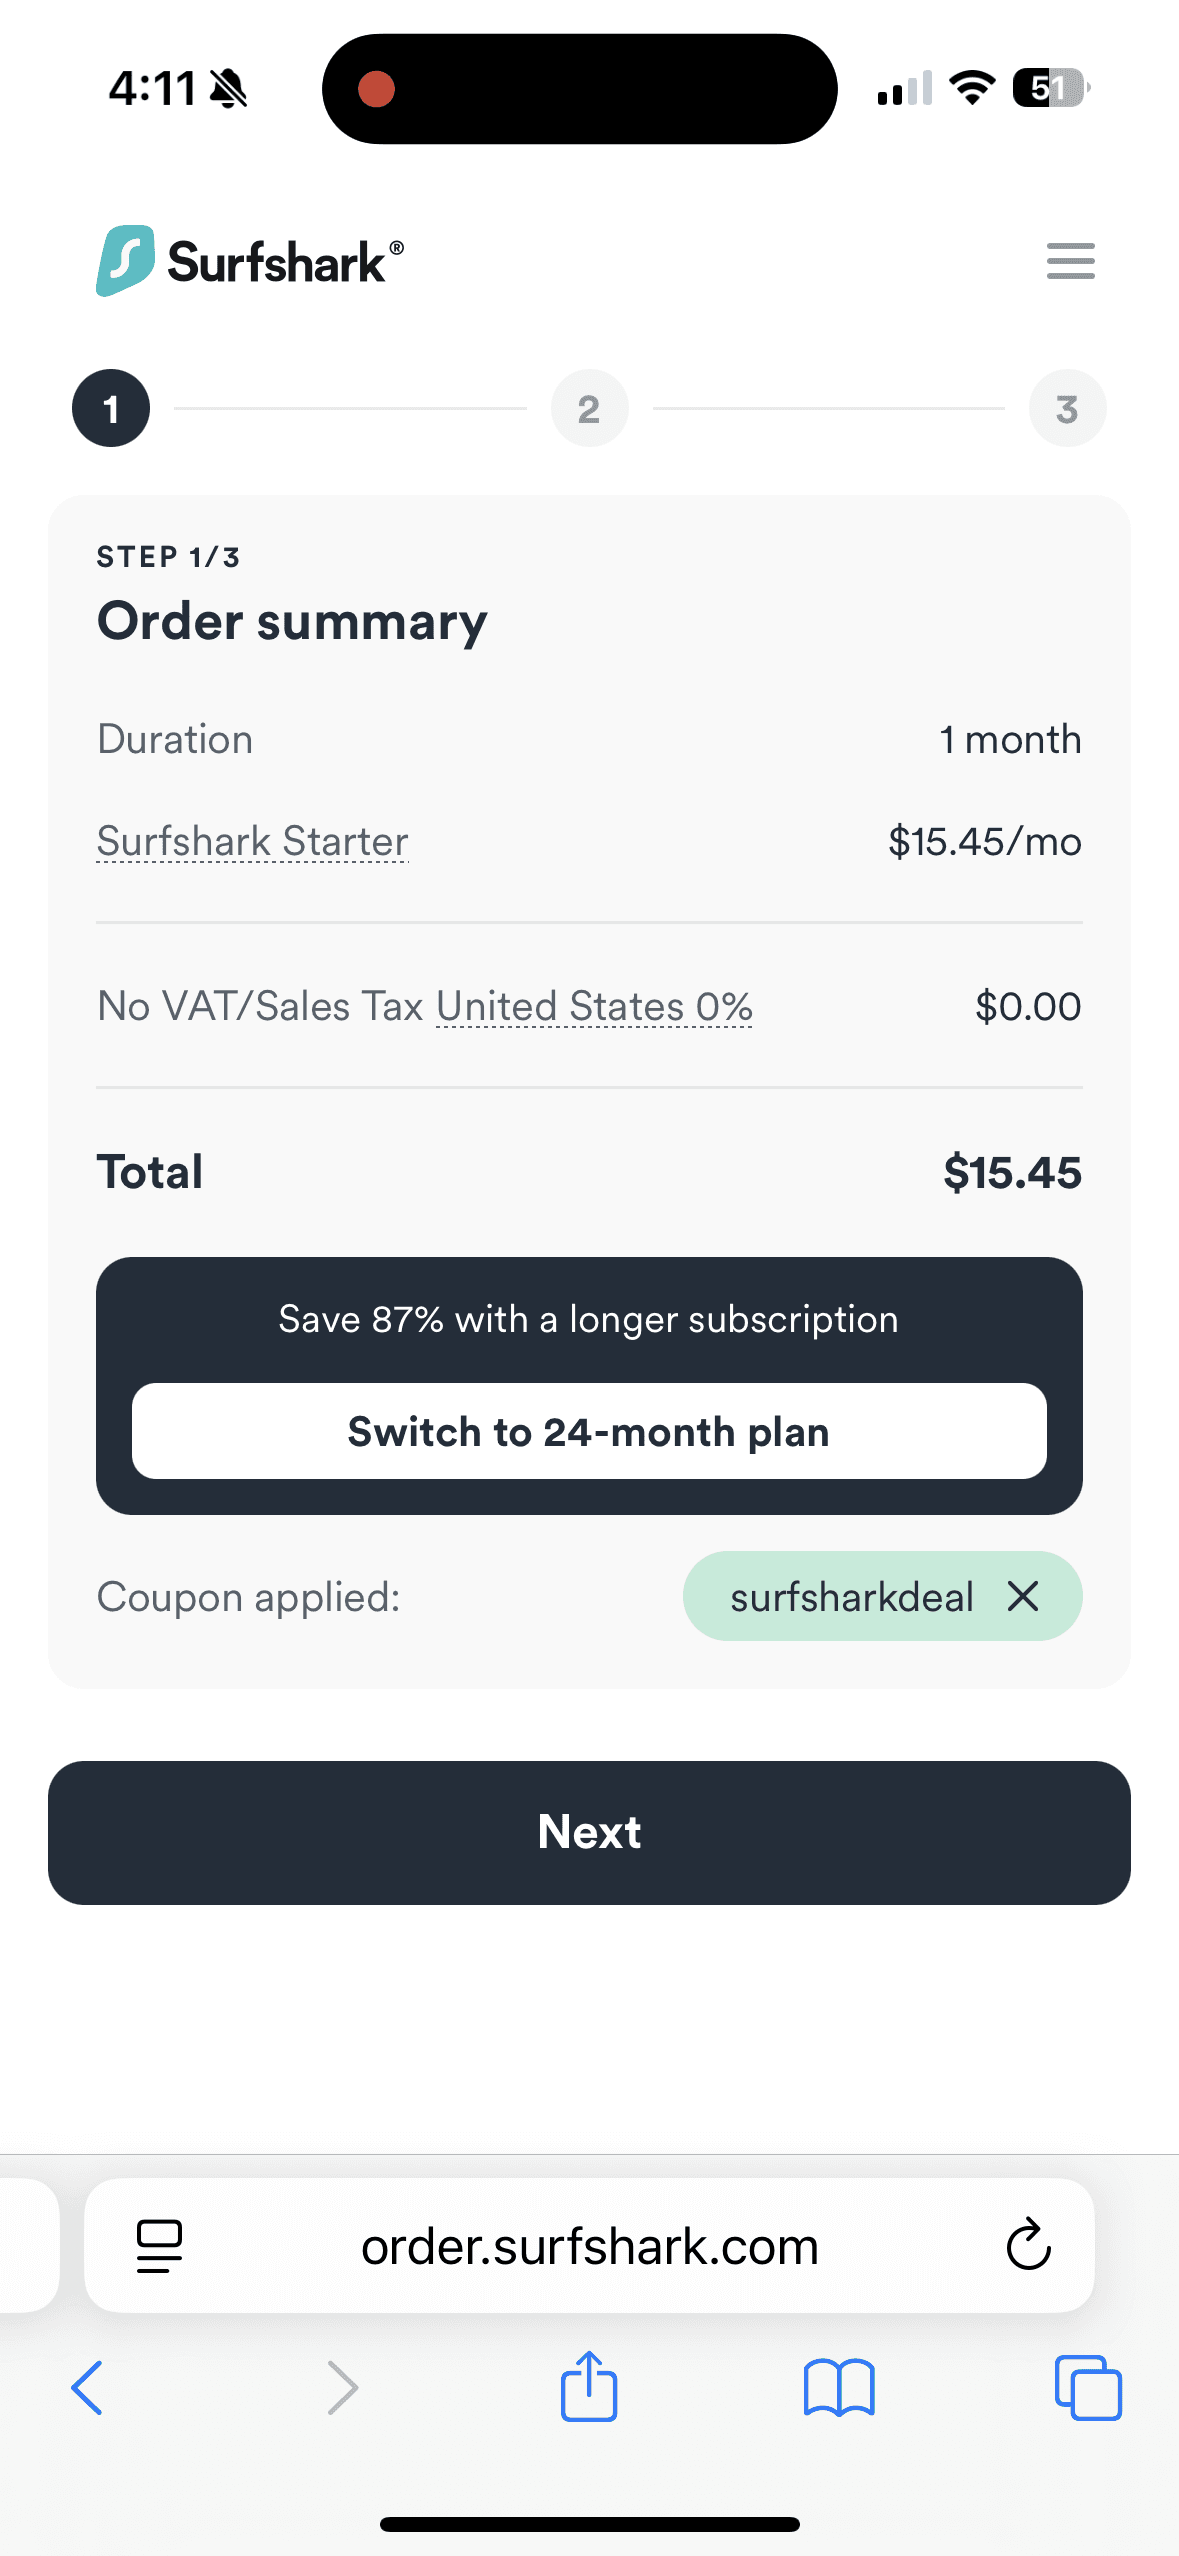
Pick and purchase the right plan

You can find Surfshark VPN options here, where you’ll start by choosing the plan that fits your trip. Once you’ve made your selection, go to check out now to complete your purchase.
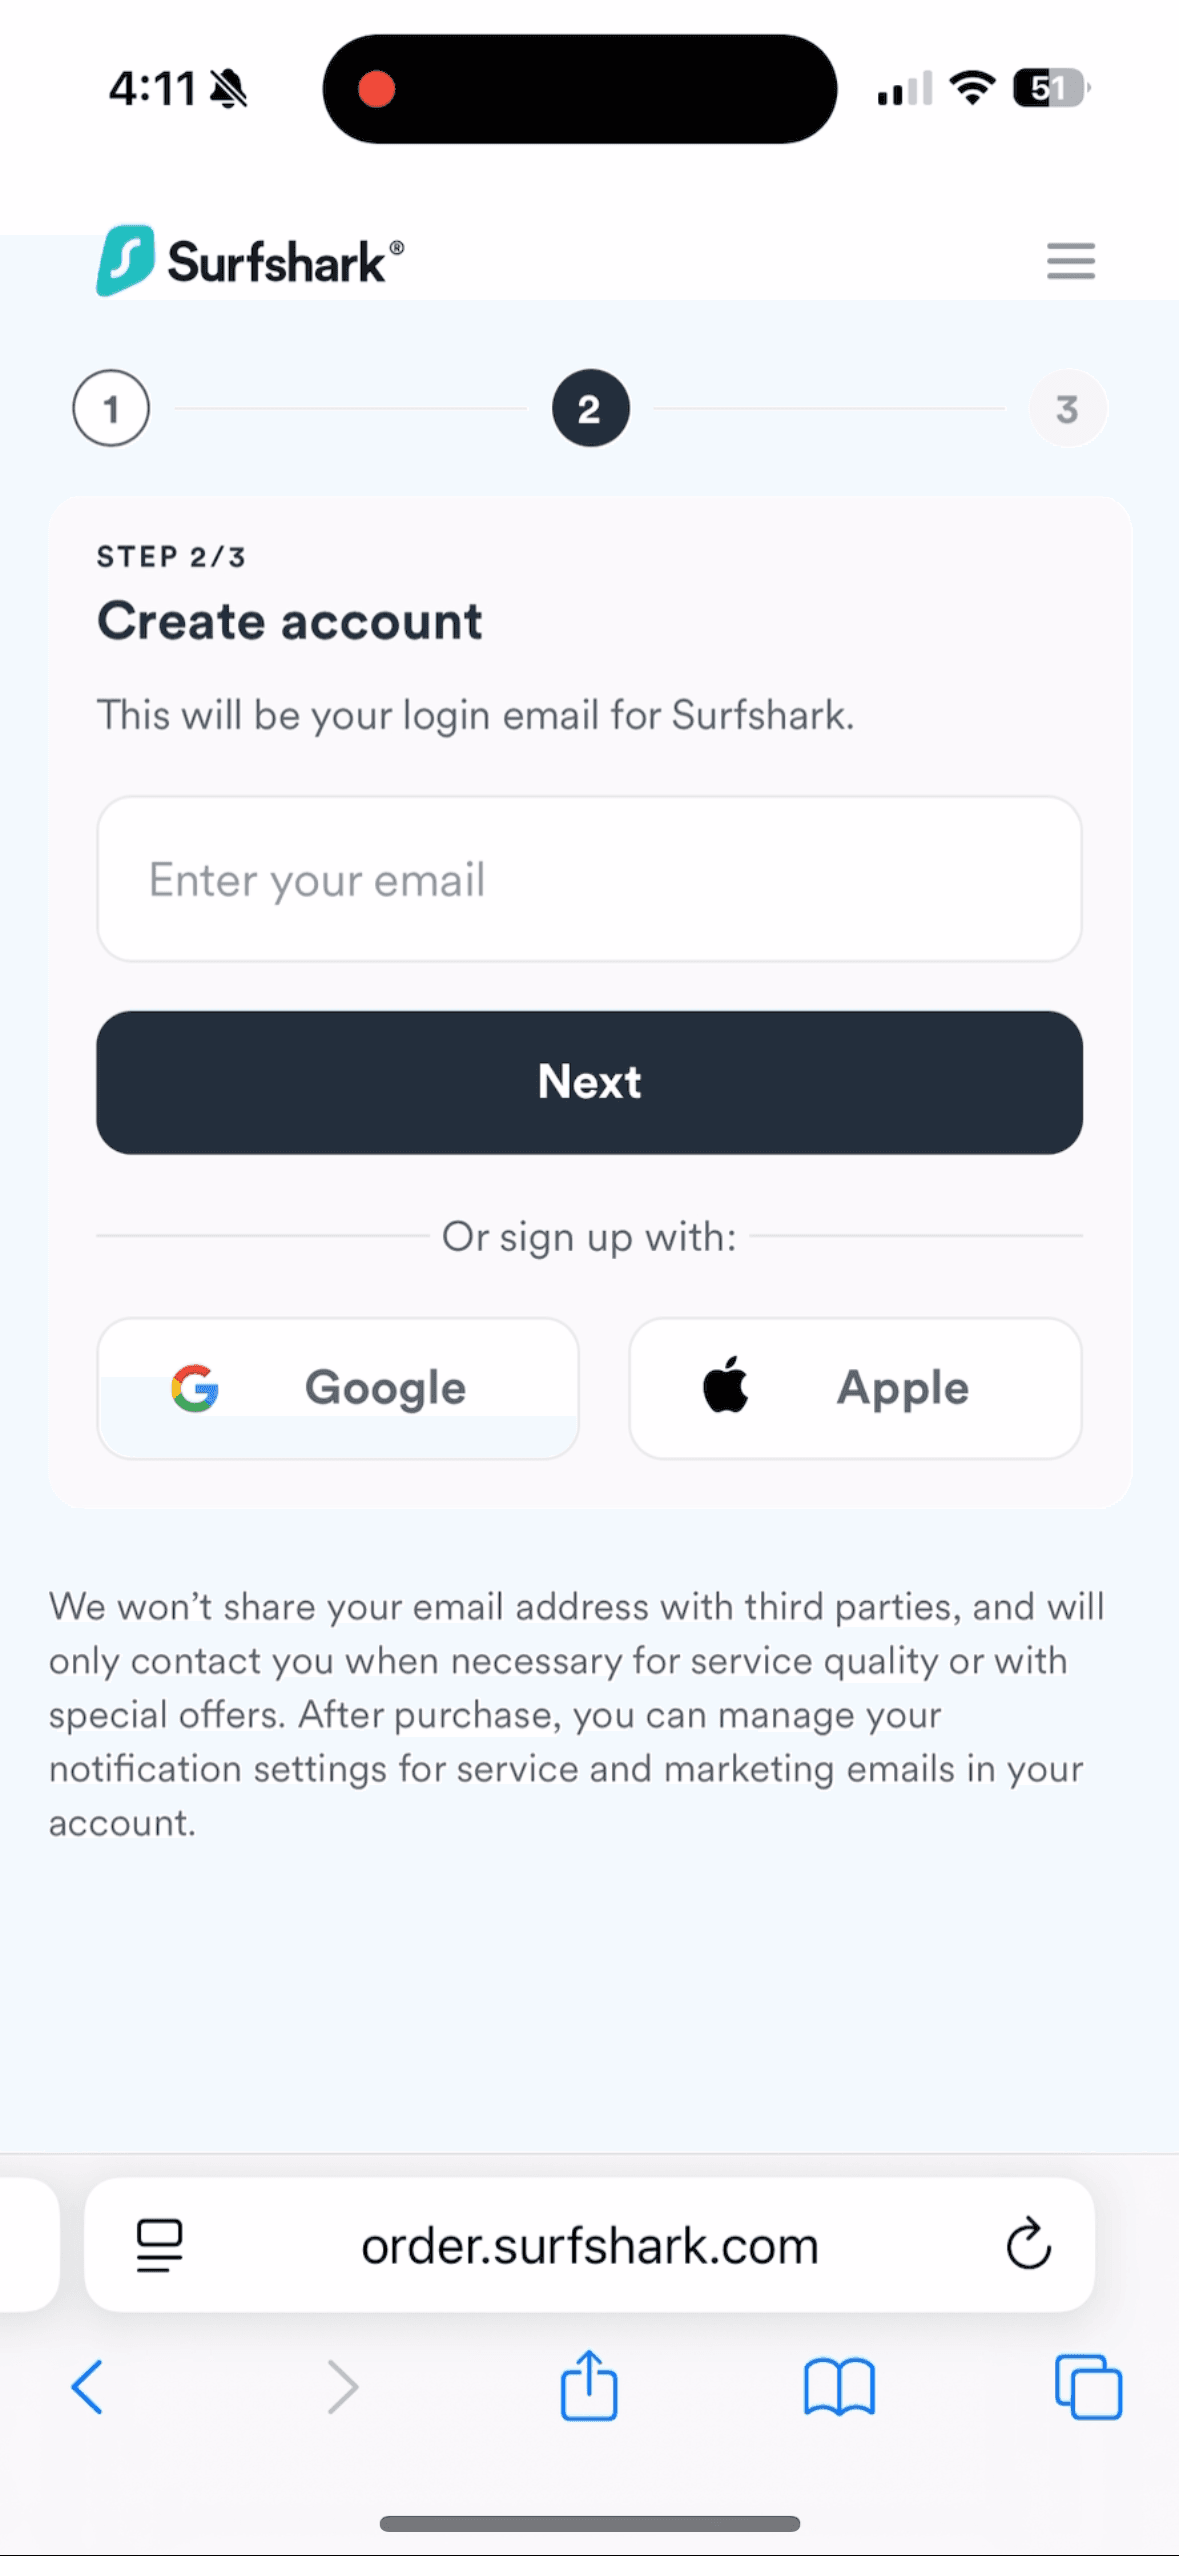
Create account
Once your purchase is complete, you’ll be directed to create an account. You can sign up quickly using your Gmail or App Store account. Creating an account is required to activate and use the VPN.
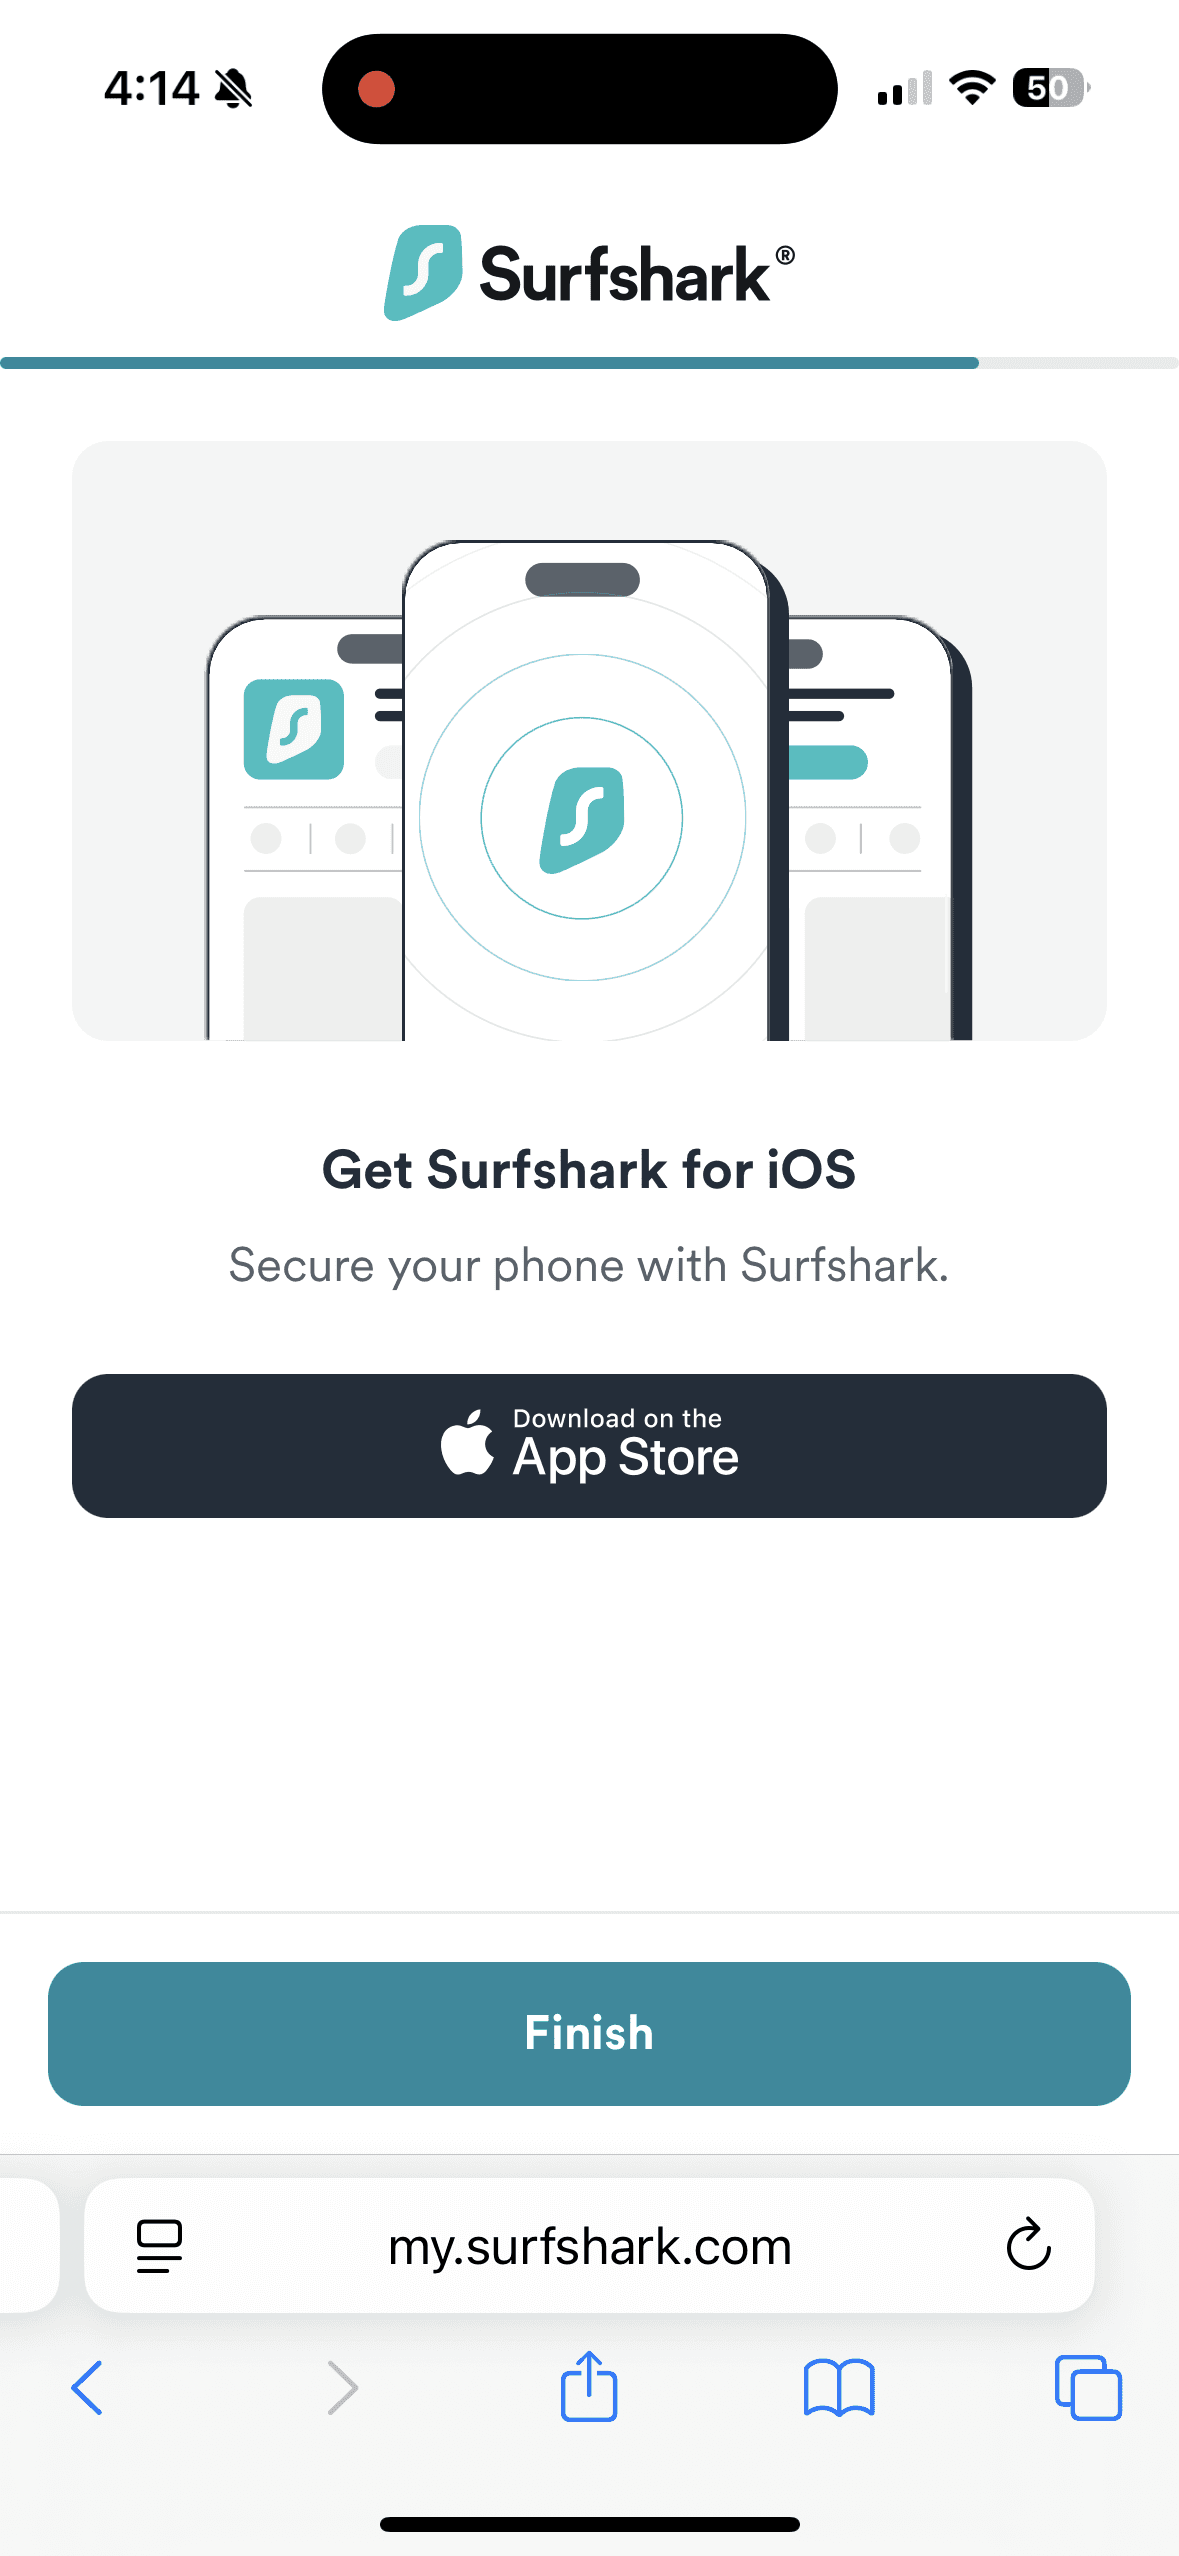
Download Surfshark VPN App
After creating your account, you’ll be prompted to download the app. You’ll need the Surfshark app to activate and use your VPN, so make sure to install it in advance for a smooth setup.
Tip: Please download the app before arriving China.
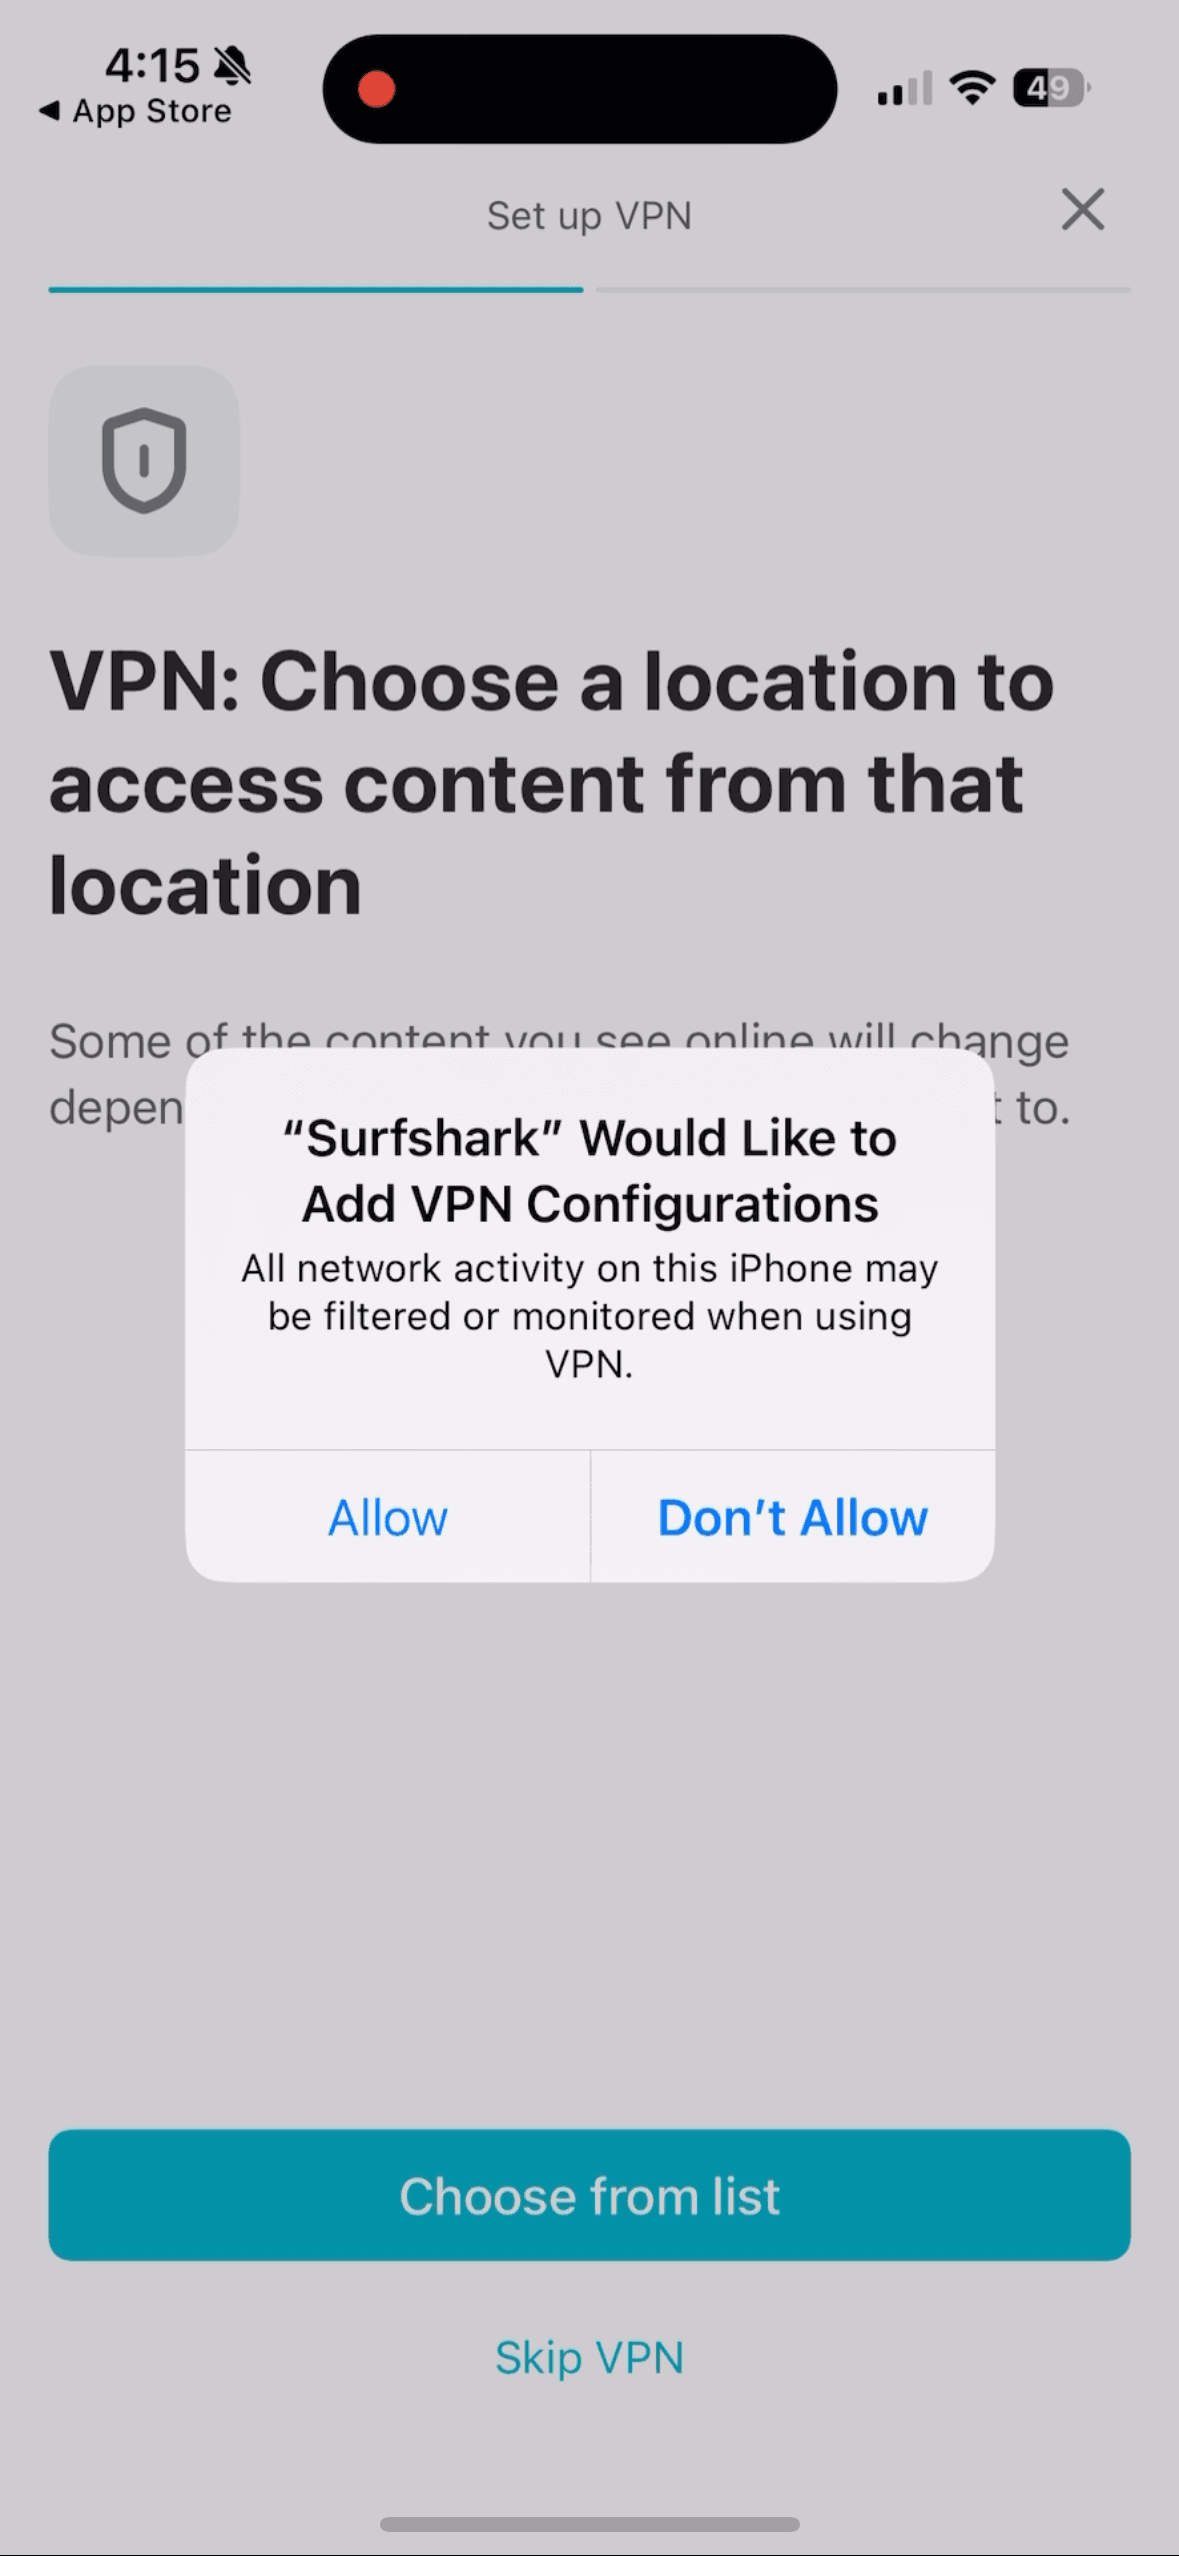
Setup VPN through Surfshark App
When you open the app, it will guide you through the setup process, just follow the on-screen instructions. The key step is allowing Surfshark to be added to your device’s VPN configuration, which is required for the VPN to work. You can review this later in General → VPN & Device Management. Once Surfshark is added, your VPN is fully set up and ready to activate whenever you need it.
Tip: Please make sure to finish your setup before arriving in China.
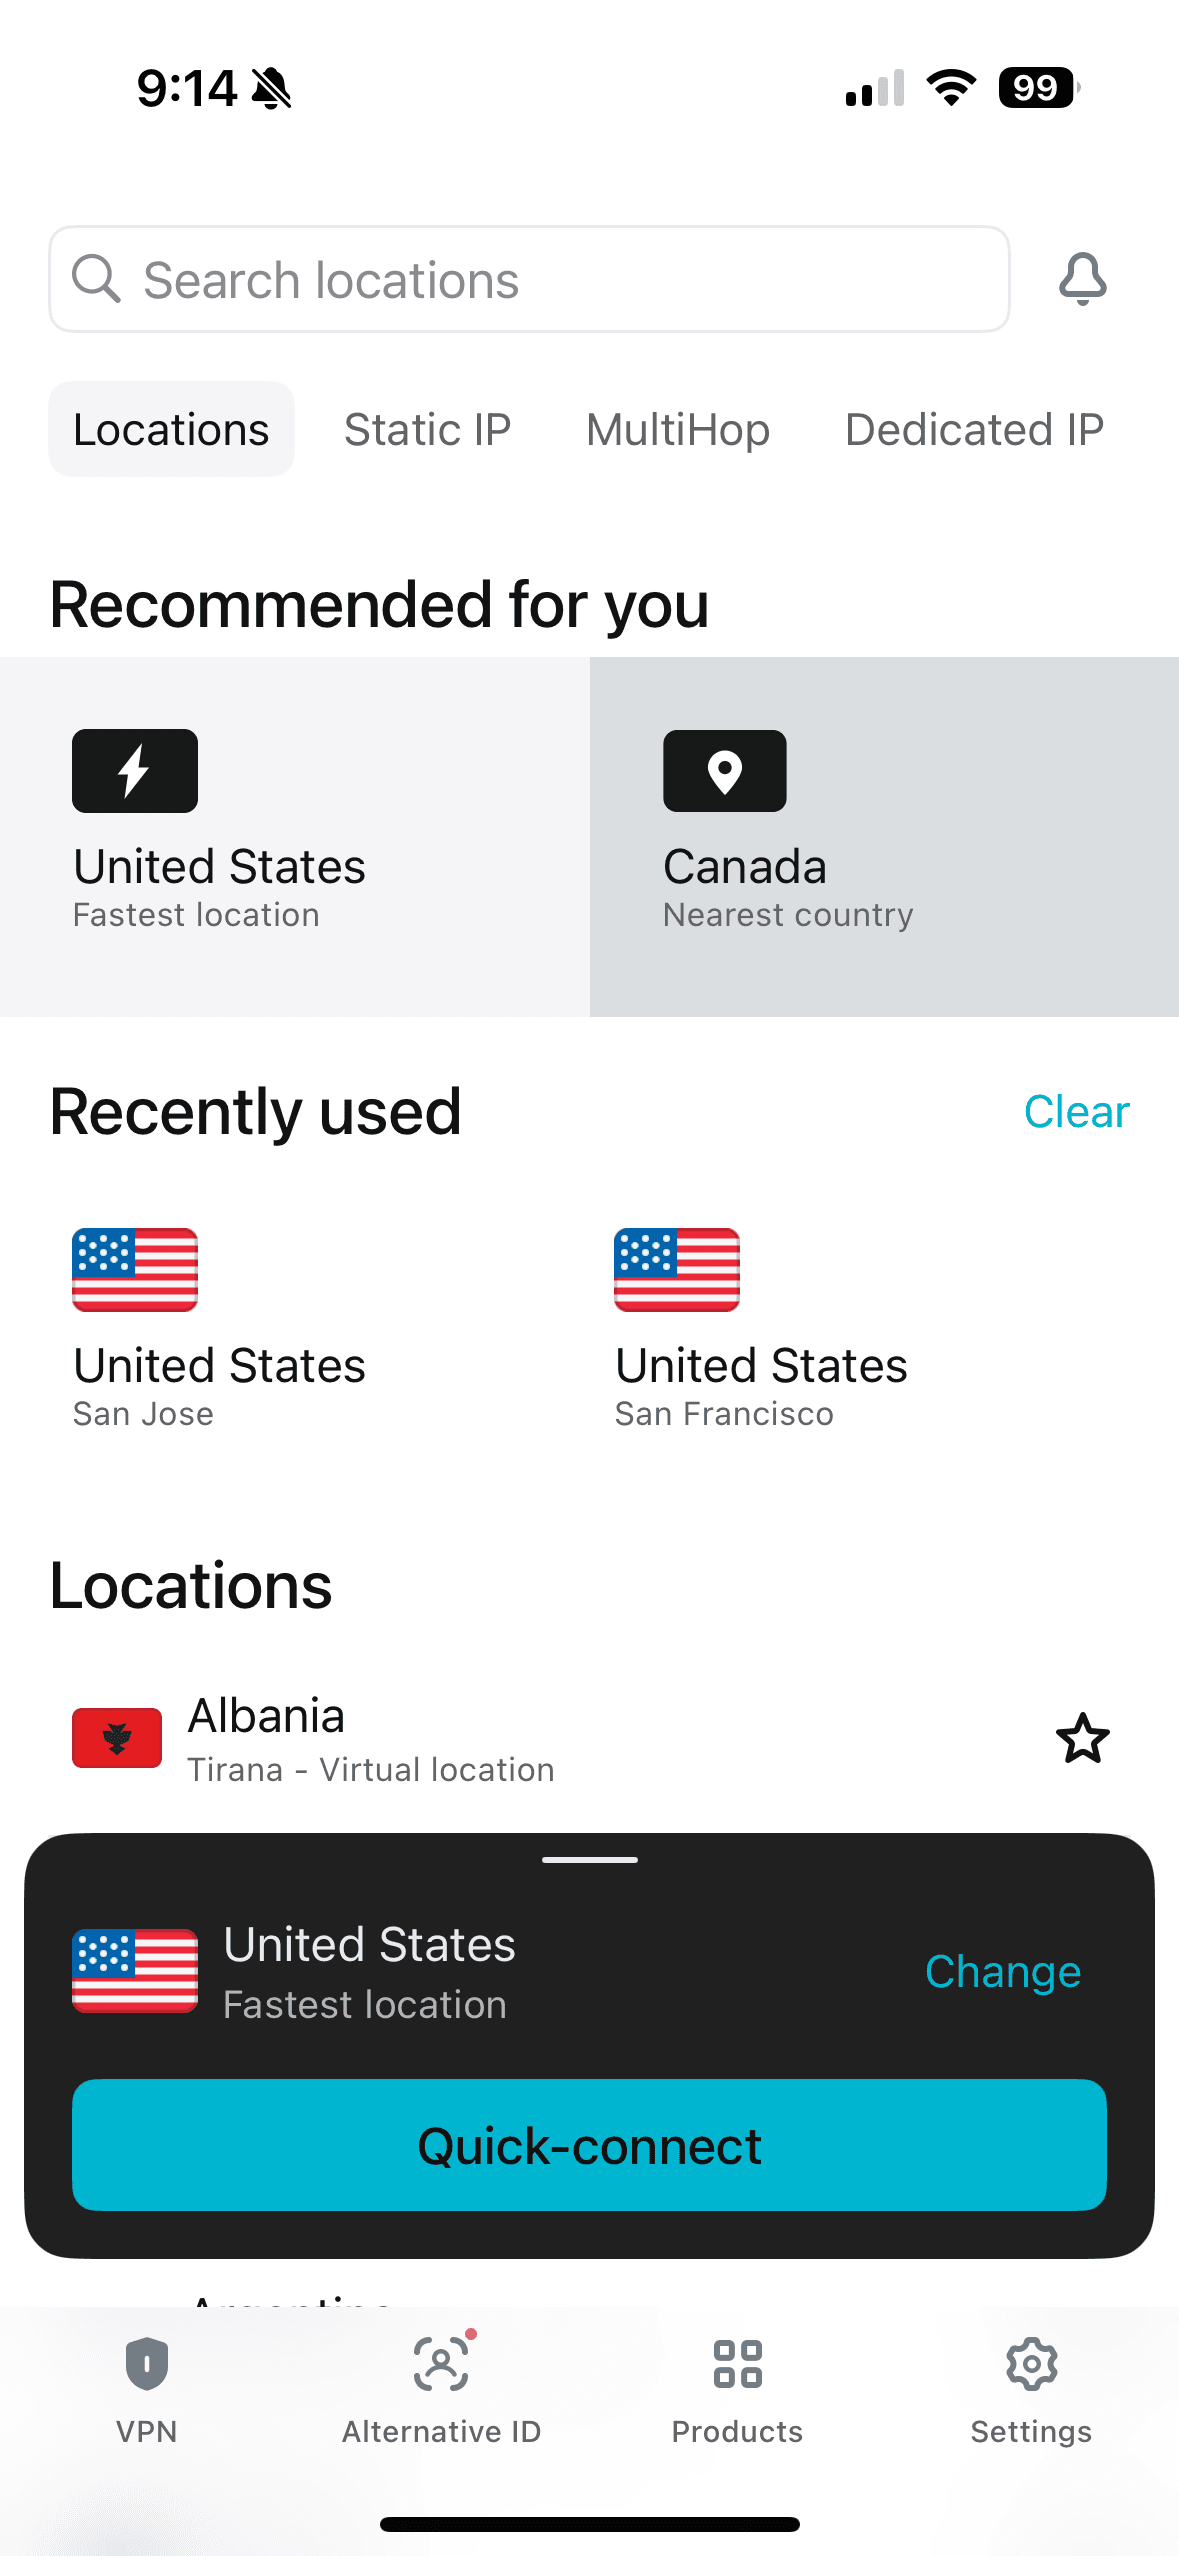
Activate VPN in Surfshark App
Once the VPN setup is complete, you can connect anytime directly from the app using the Quick Connect button. You can also change the VPN location whenever needed. That’s it, you’re all set. When you arrive in China, you’ll be able to enjoy a smooth and reliable internet experience.